
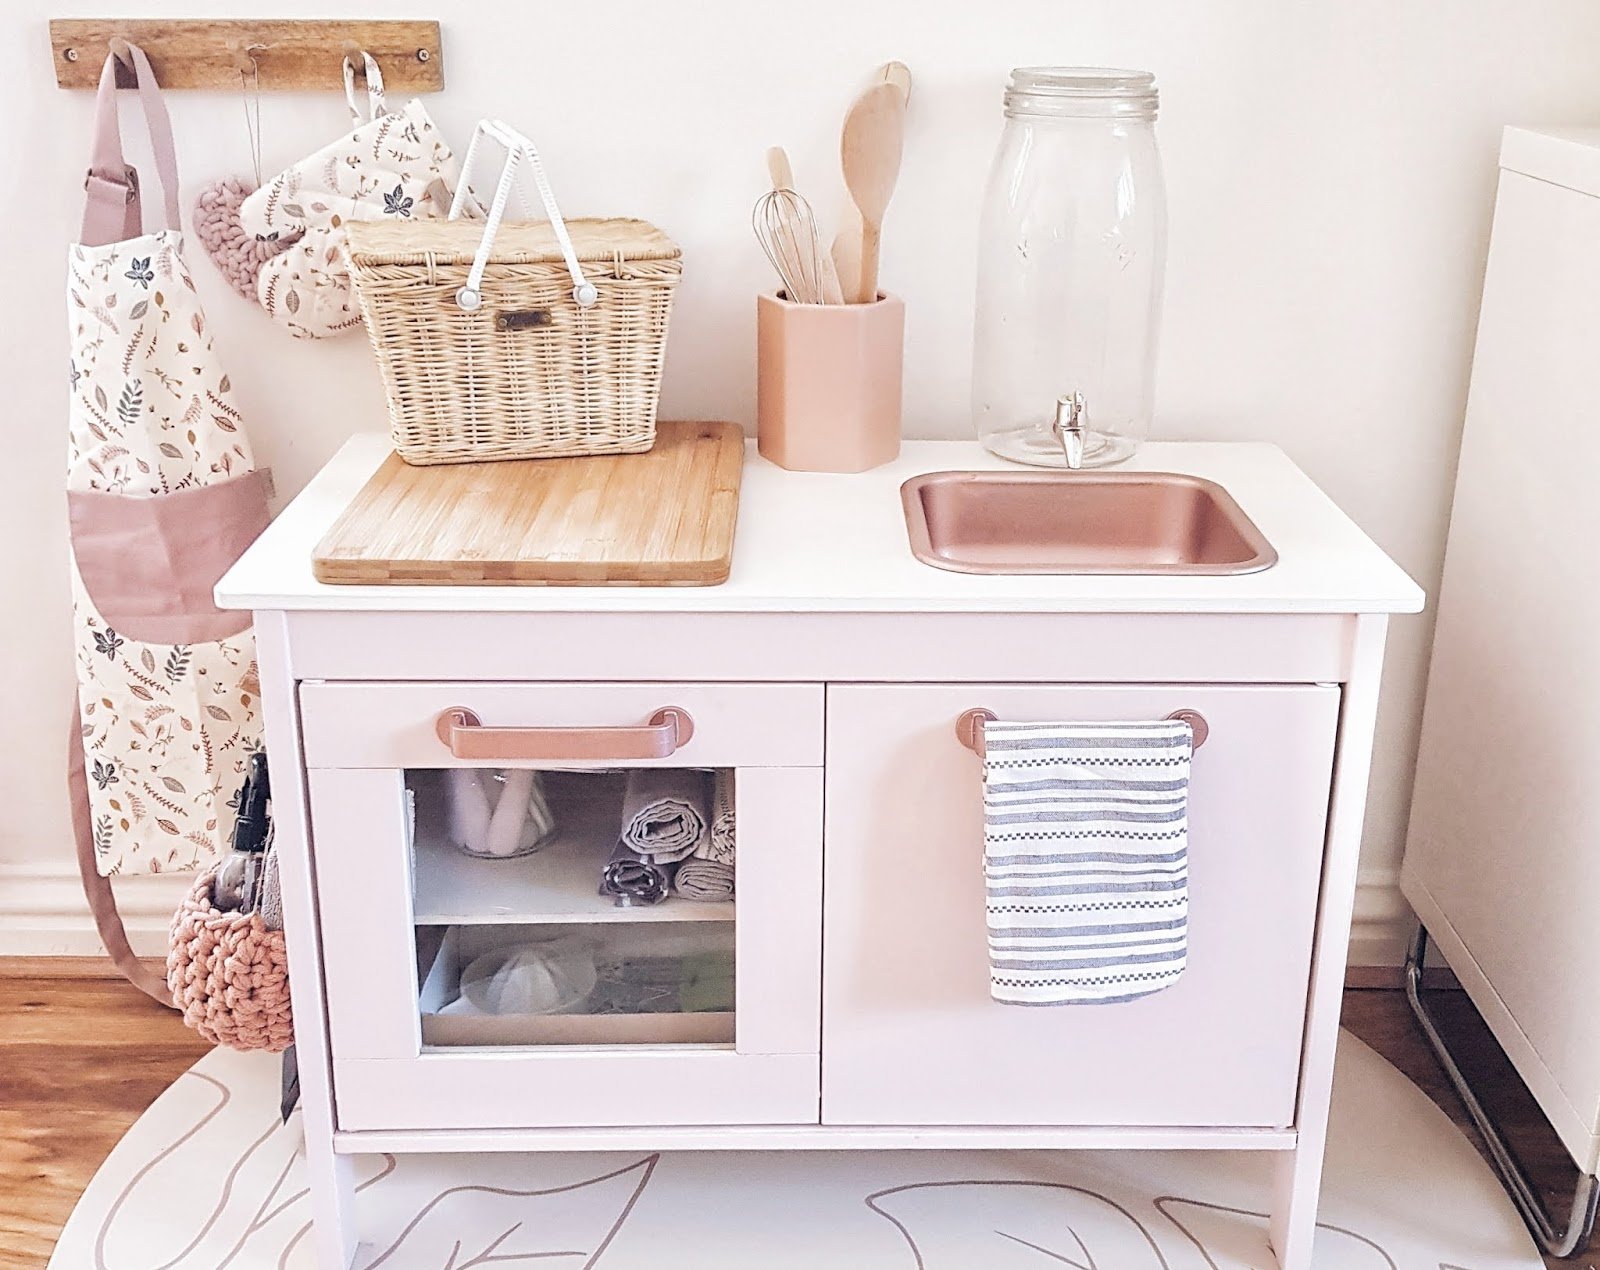
Country Cottage Toddler Kitchen (with Working Sink!) – IKEA Hack
For our daughter’s first birthday, we bought an IKEA FUKTIG Play Kitchen and gave it a full makeover! Our goal was to combine the look of a cozy, charming English country cottage with a Montessori-inspired functional kitchen. Here’s how we did it…


Inspiration
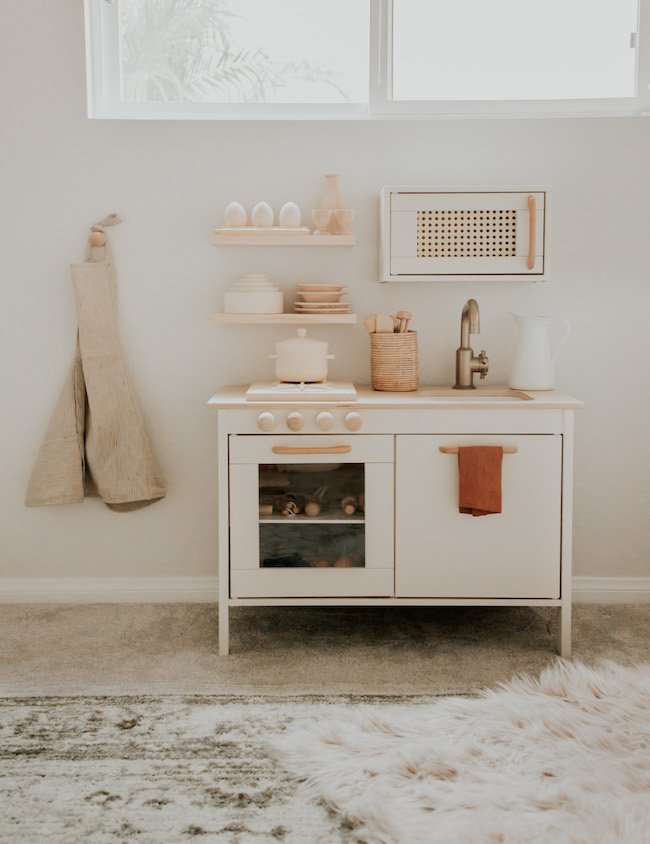
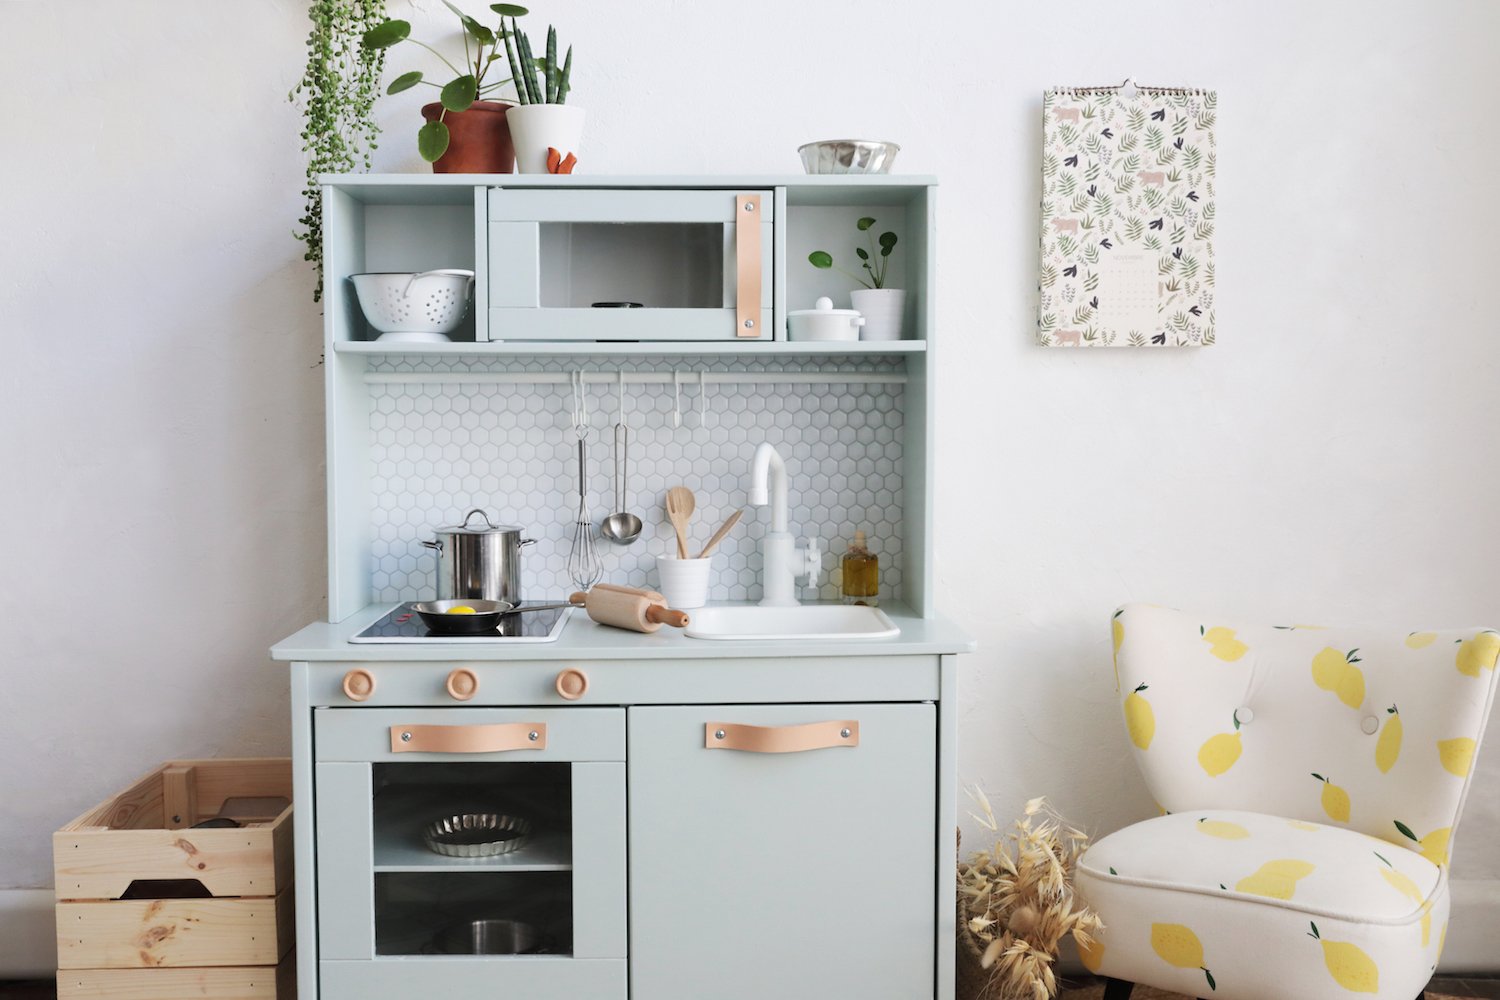
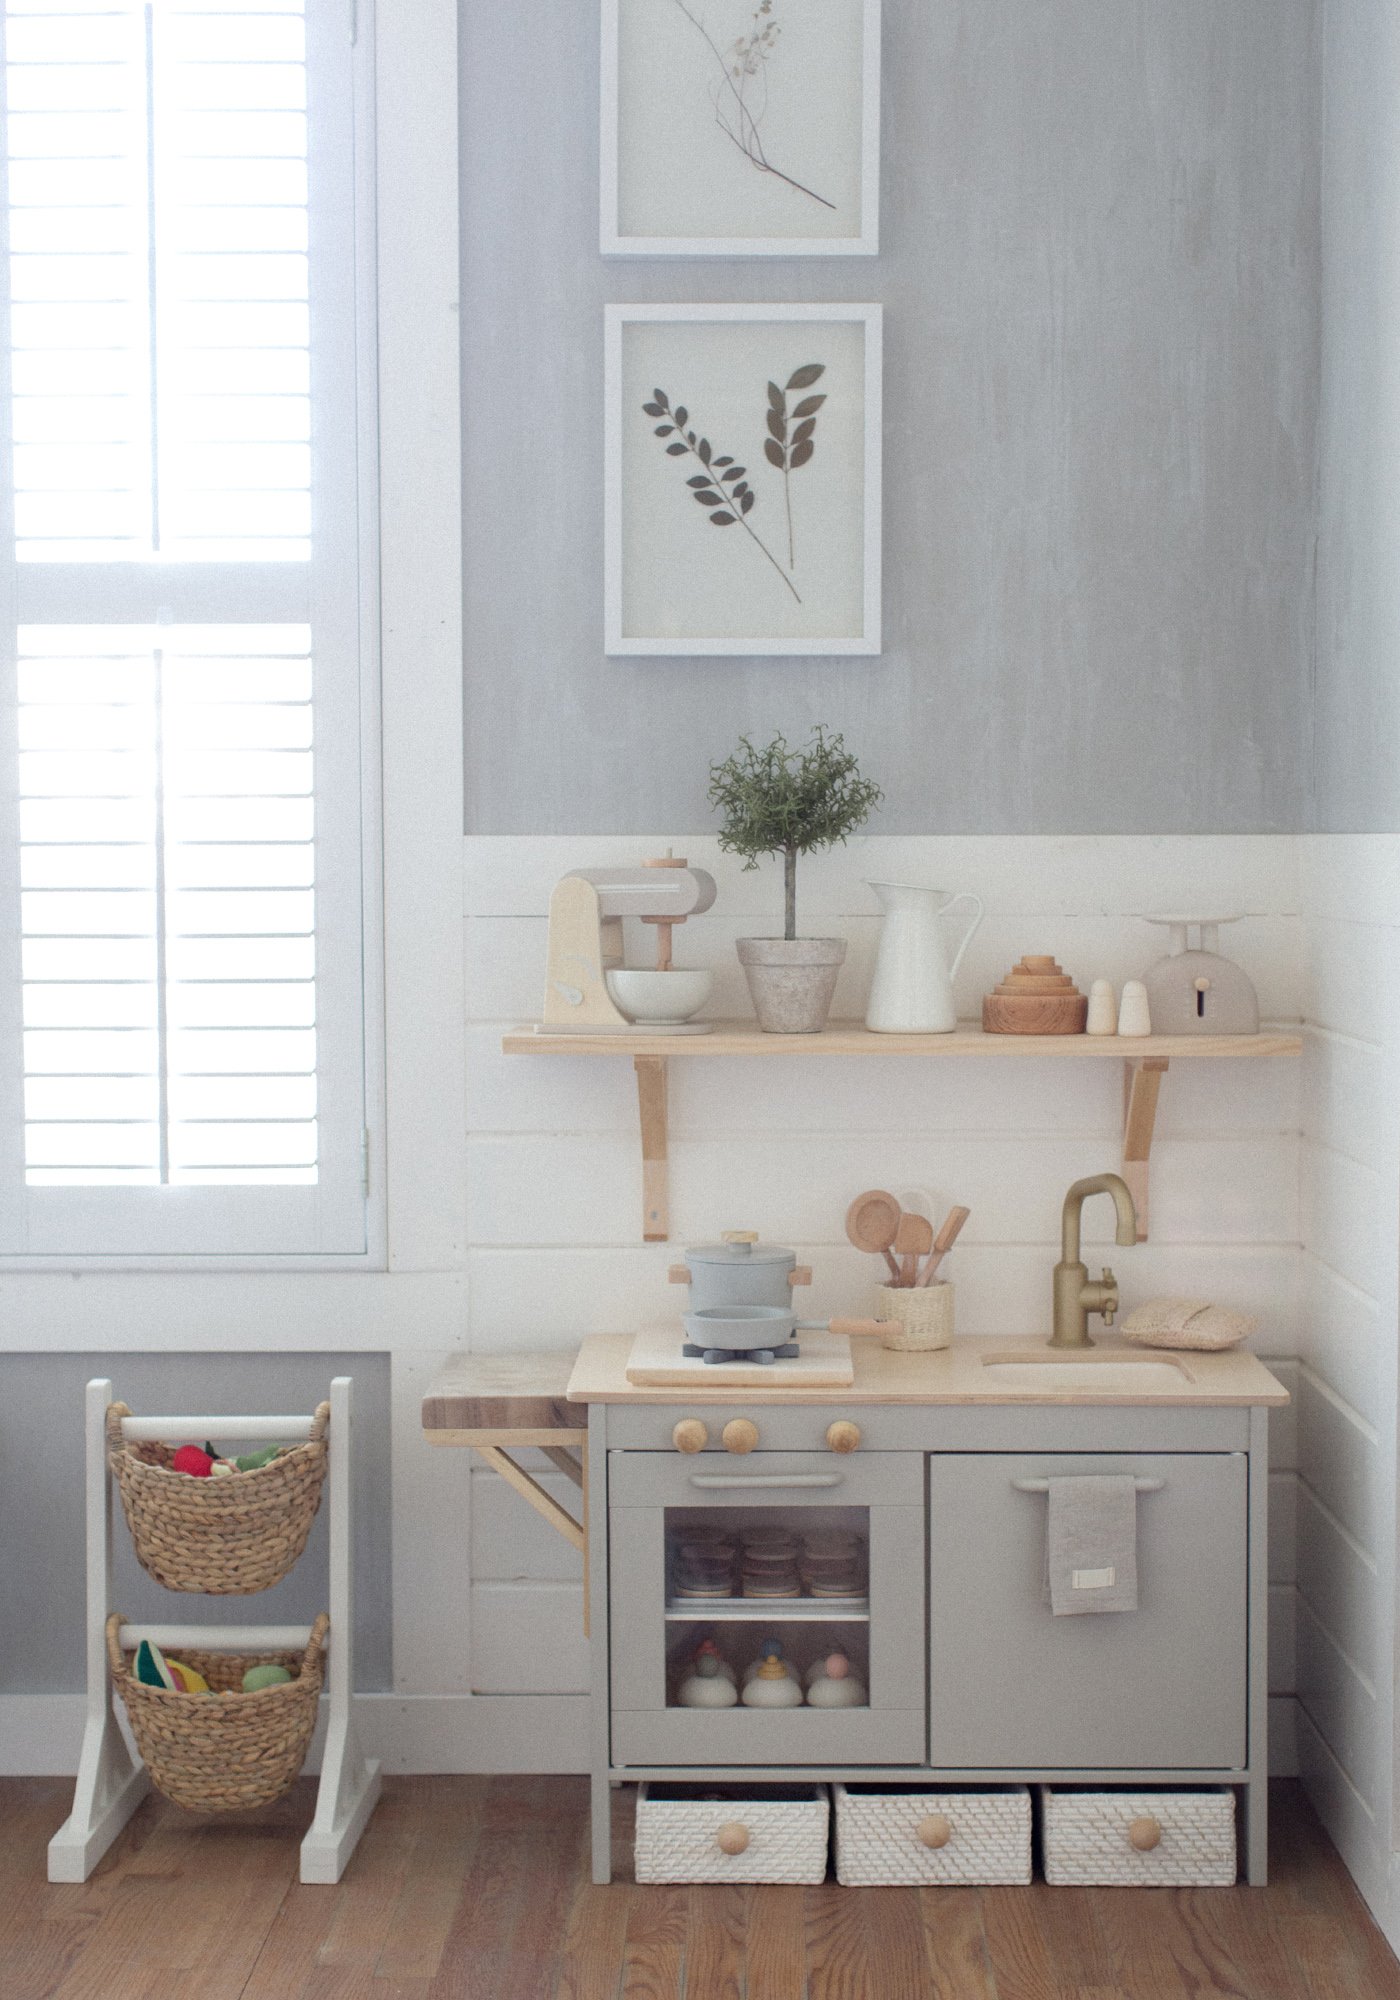
While looking for inspiration, it seems like play kitchen makeovers fall into two camps with the top priority being either decor, or function.
For example, the first three adorable kitchens feature soft pastels and natural elements like unfinished wood and rattan. They do not, however, feature working sinks, which is kind of essential to the Montessori philosophy of opting for “real life” as opposed to “fake” elements of play.
(Montessori aside, I also love incorporating “fake” aka “pretend” play with felt foods and other not-real-life elements. It’s fun to mix and match!)
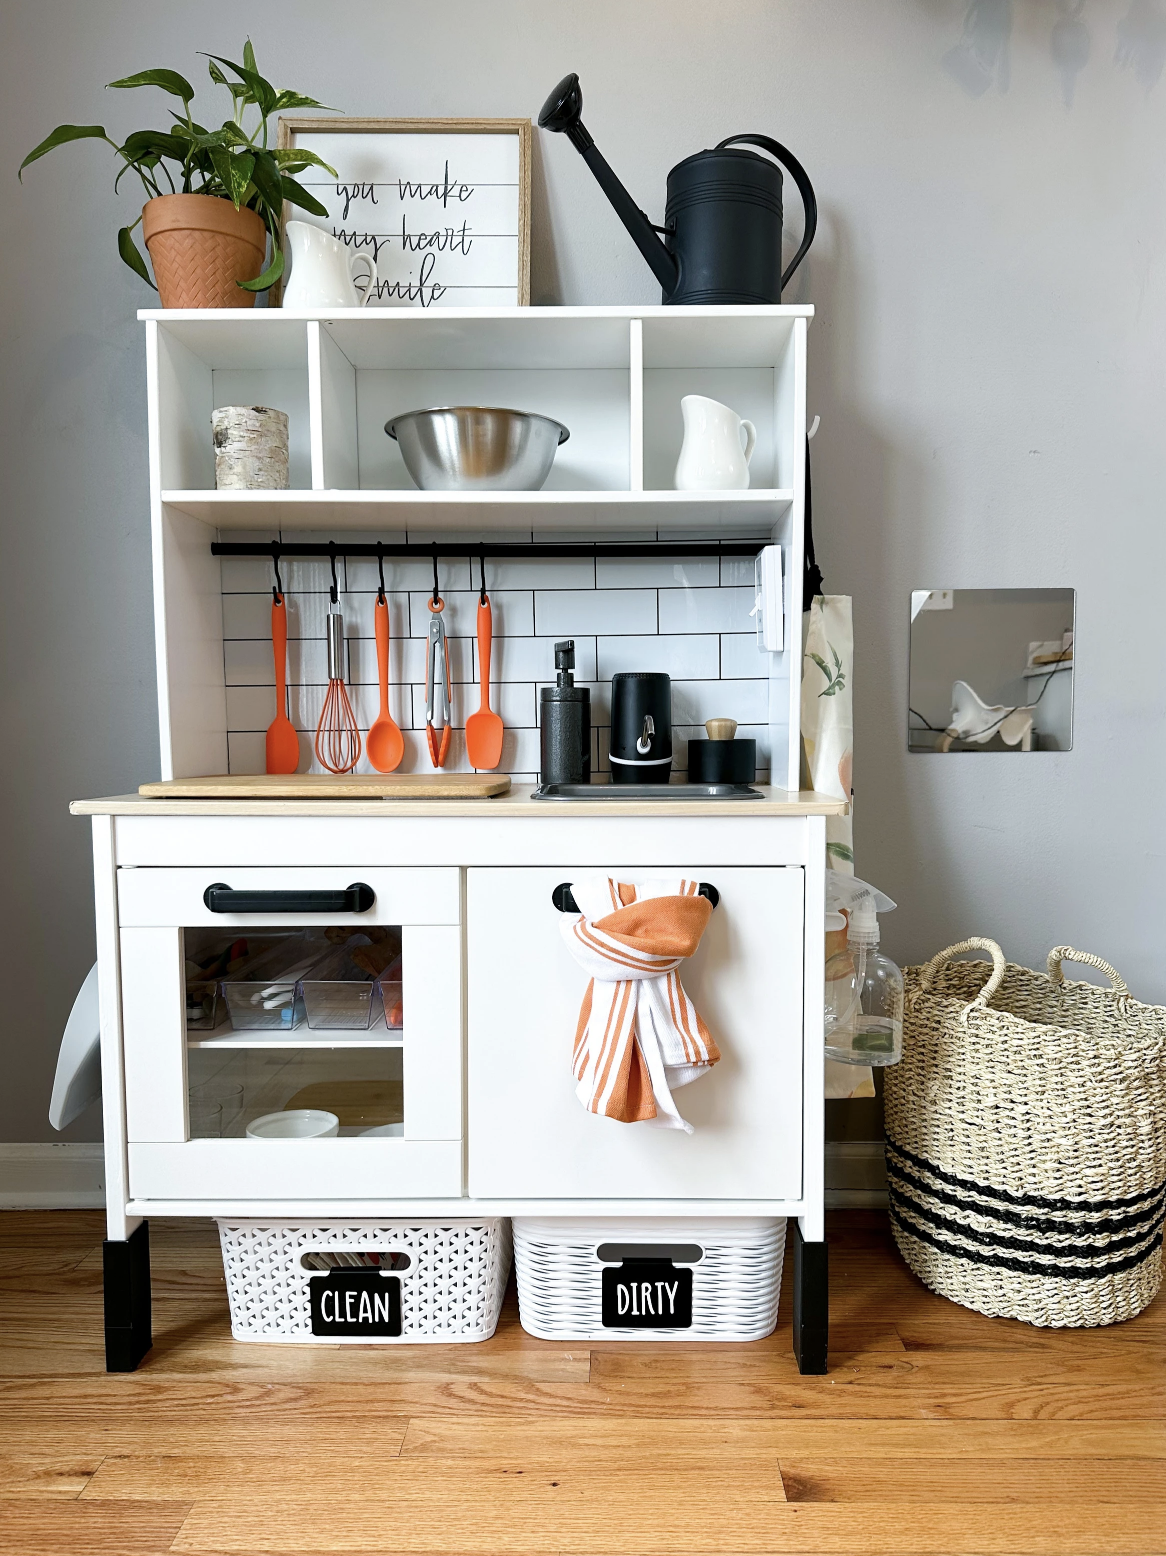
On the other hand, the last three pictures show Montessori toddler kitchens have multiple functional items like working sinks, hand soap dispensers, cutting boards, baskets for plates and utensils, and other items to make them functional.

The Plan


Cabinet Door Upgrade
One issue I have with IKEA’s DUKTIG is the cabinet door situation. Functionally, the hinges are located on the outsides, and the doors open from the center, outwards. However, the original pull handles are located at the top, suggesting that the doors open from the top, like that of an oven. If you ask me, this is confusing and counterintuitive! I think it was designed this way so that hand towels could hang from the pulls?
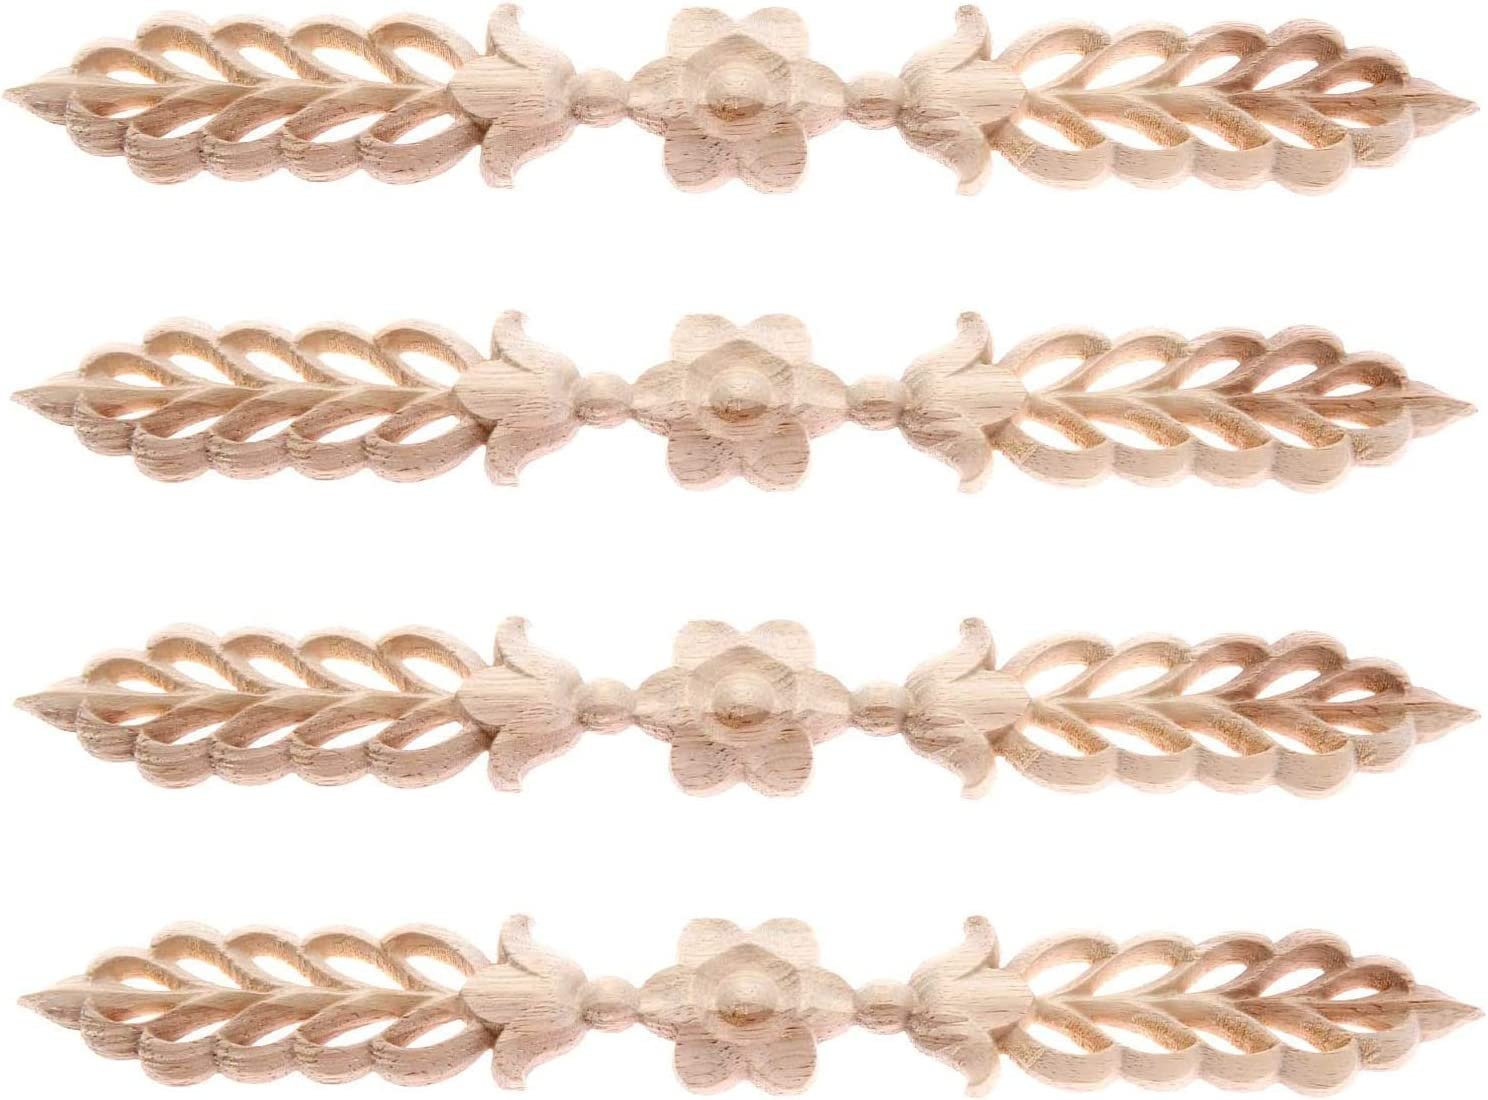
Regardless, we decided to make adjustments. This involved concealing the existing holes with wood applique and drilling new holes for wooden knobs. We also covered the acrylic window with cane rattan webbing to give some additional texture.


Working Sink Ideas
A top priority of our transformation was to create a working sink and other functional items so our toddler can learn to wash her hands, get drinks of water, store her dishes/utensils, wash produce, and more as she grows older and more independent.
Montessori working sink upgrades fall into two categories: Drink dispenser on top of the counter (cute, but tricky for toddler hands and potential tipping hazard?) and rechargeable water bottle pumps (easy to use with the push of a button, but potentially annoying to recharge?). We opted for the latter, and purchased a longer charging cable to avoid having to regularly disassemble to recharge.


Other Common Design Choices
For the Love of Spray Paint: We love spray painting our furniture! It’s quick to apply, durable, easy to clean, and isn’t tacky like water-based paint. This being said, it has difficulty adhering to smooth surfaces, like glossy finishes or plastic. Many IKEA-kitchen-remodelers sprayed the plastic parts (sink, faucet, pull handles, leg extenders), and later reported chipping. We decided to leave the sink unpainted, since it will be experiencing a lot of water use and do not want to risk chipping. For the leg extenders, we made sure they were well-sanded beforehand.
A No(te) on Contact Paper: Many play kitchen renovations feature use of contact paper either on the countertop or for a backsplash. This is SO cute, but we didn’t love the thought of water or grime collecting in crevices, so we decided against it.
Parts & Materials
*FYI: When you purchase products from any of the starred links, I may earn some amount of affiliate commission – bonus!


Basics
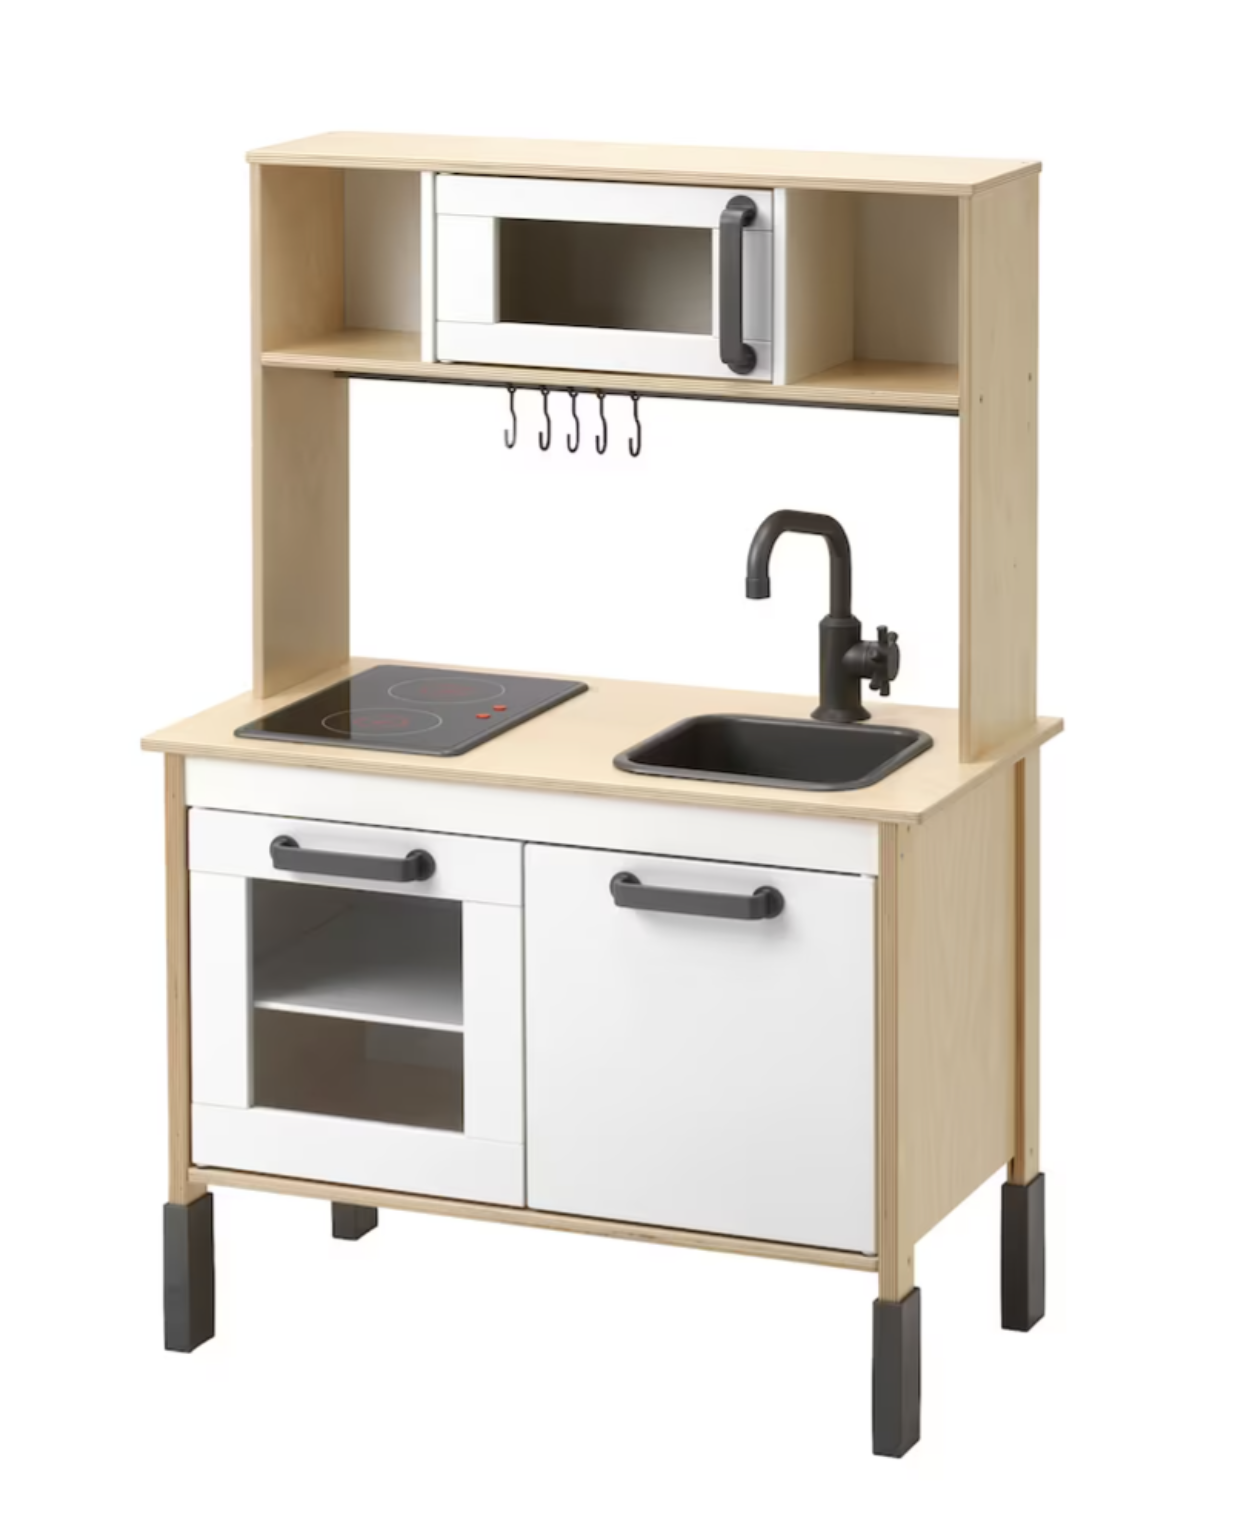
DUKTIG Play Kitchen from IKEA
Krylon Fusion All-In-One Spray Paint, Matte Vintage Blue* – we used about 4.5 cans for this project. Normally we would’ve preferred a satin finish, but it wasn’t available and the matte isn’t as flat as we thought it might be!
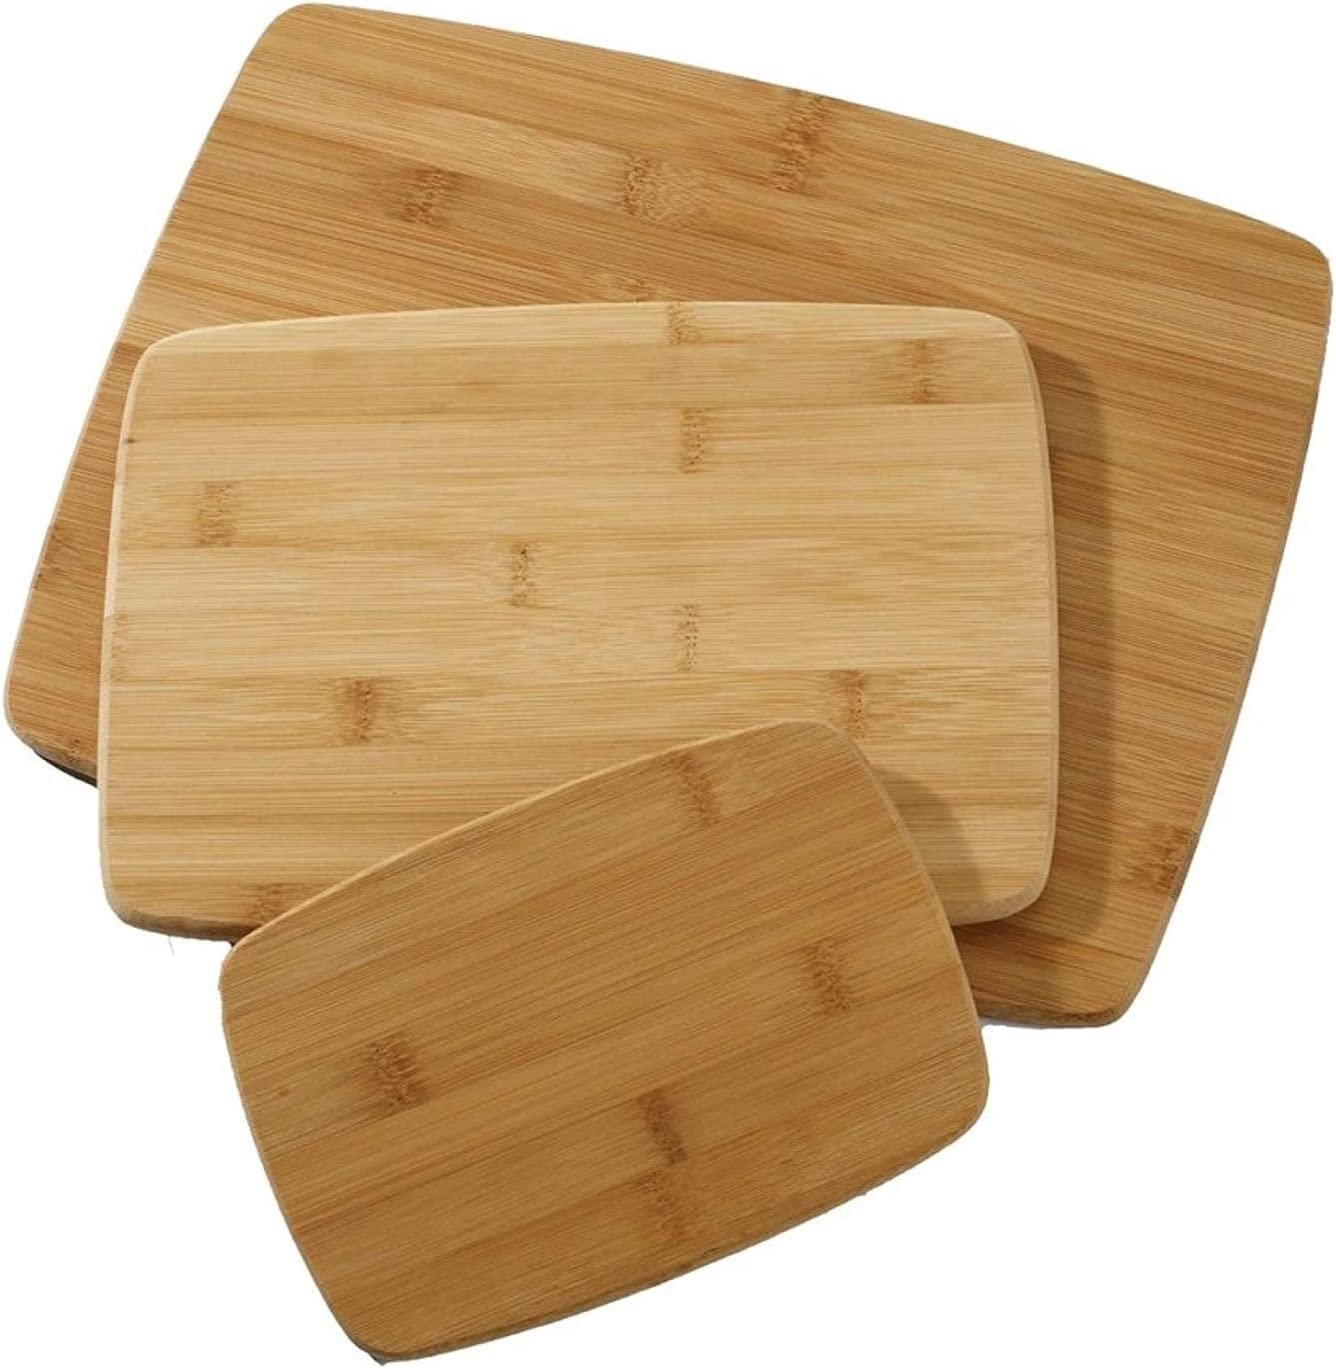
Cutting Board* to cover countertop opening originally intended for the stovetop. It was surprisingly difficult to find the perfect size, but this bamboo one comes in a pack of three and they’re lightweight and useful. We put a few clear Bumpers* on the bottom of the cutting board (sitting inside the stovetop cutout) to stop the cutting board from sliding around too much.
Cabinet Door Upgrade
Wood Applique* to cover existing handle holes.
1” Wooden Knobs – We purchased ours from Ace Hardware. Hobby Lobby has a nice selection as well.
Cane Rattan Webbing* to cover the acrylic window.
Weldbond All Purpose Glue* to adhere the rattan to the window.
Wood Filler* to fill existing handle holes before adding the wood applique.

Working Sink
Rechargeable Water Bottle Pump* for the working sink. We also purchased this Micro USB Cable* so the charger would reach our nearest outlet and we could leave the pump always plugged in.
Two Plastic Containers, one for clean and one for soiled water. We used leftover containers of Costco’s peanut butter pretzels.
Sink Tailpiece, 1 ½” Diameter, 6” Long
Sink Strainer – Make sure the strainer and tailpiece you purchase fit with one another… there was a limited selection at Ace Hardware so we could only find one combination that fit together perfectly.
Hole Saw, 1 ½” – Make sure you also have the required bit at home, or purchase separately.
Other Tools and Prep Supplies
For Building: Hammer and Phillips Head Screwdriver (as specified by IKEA’s manual) as well as an Electric Drill for new handle holes and sink hole.
For Painting: Plastic Drop Cloth, Plastic Gloves, Mask, Painter’s Tape, Scrap Wood (for elevating items to be painted).
Styling
Wall art, daffodil hooks, baskets, soap dish, and wooden/woven cabinet trays collected from flea markets and estate sales.
Bowls and plates from IKEA, small wooden spoons from The Little Reason, rug 5-10 years old from World Market (2.5’x4’ folded in half), Duralex Glasses* from Amazon, Round soap with dish brush from Lora’s Beauty on Etsy.
Tutorial


Here are the steps we took to remodel our IKEA Play Kitchen:

Build the FUKTIG Play Kitchen Frame using the IKEA manual (also available online).
Leave off the cabinet doors and inner cabinet shelves in order to paint them separately from the cabinet structure.
Leave off countertop and do not apply hinges to cabinet doors until all painting is complete.
Discard/set aside materials for the upper hutch/shelf, microwave, plastic handles, and stovetop.
Prep Cabinet Doors:
Fill original pull handle holes with wood filler (4 holes total). In an effort to help harden more quickly, at first we filled them each about halfway, then let dry and filled the rest.
Pre-drill holes for new cabinet knobs, centered and 1” from the outer edge.
Cut cane webbing to fit inside the cabinet window, then use (liberal amounts of) glue to bond to the acrylic. Once glued, we took care to weigh down each corner and edge so the cane wouldn’t curl up.
Spray Painting Tips and Suggestions:
Items to Paint: Cabinet Frame, (2) Cabinet Doors, (2) Wooden Knobs, (4) Leg Extenders, (1) Inner Shelf.
Sand everything before painting, otherwise the paint might start dripping/rolling down before it can adhere to the smooth exterior (we learned this the hard way).
We applied three coats total to each item, waiting approximately 20-minutes between each coat.
We used twine suspended between our garbage/recycling bins to hang the plastic leg extenders and knobs (attached to spare screws).
To spray cabinet doors and inner shelf, we used painter’s tape along the edges, then sprayed the backs and let dry for 24 hours. Then we removed the tape, flipped over, and sprayed the fronts and edges.
We let all painted pieces cure in the garage for two weeks. It might’ve cured sooner than this, but we did not want to risk bringing any spray paint smell into the house.
Assemble Working Sink:
Drill hole into the sink using the hole saw.
Roll a piece of plumber’s putty into a long worm shape, and smoosh between the strainer/drain and the sink basin.
The order of parts from top to bottom: strainer/drain grating, putty, sink basin, sink tailpiece, then bottom brass part of the strainer screwed onto the tailpiece from underneath.
Once tightened, remove excess putty.
Assemble Remaining Parts & Finishing Touches:
Screw in new wooden cabinet knobs.
Attach cabinet doors and countertop according to the IKEA manual.
Add inner shelf to the left cabinet.
Plug in and/or charge the water bottle pump. Thread pump tubing through one of IKEA’s original faucet holes, and down into the clean water container. Insert the sink basin and tailpiece into your plastic container for soiled water.
How it’s going…


The verdict is in: our toddler loves her kitchen! She’s 12-months at this point so her interests include splashing in the sink, unloading/reorganizing the cabinets, and playing with the dish towels on the hooks. She’s not tall enough to reach the button, but at this point that gives the grown-ups control over how much water is dispensed.
One thing we’ve learned is that the sink does not empty completely because the basin is a bit lower than the drain (it’s almost as if IKEA never intended this sink to actually drain water?!). Since the basin is not attached to the countertop, each evening when I refresh the water containers I also do a quick rinse and dry of the basin in the grown-up kitchen sink. Works for us!
Thank you so much for reading about our experience with remodeling our play kitchen. If this tutorial has given you any ideas as you design your own play (or real!) kitchen, please let us know via email or comment below. Creating this post was a labor of love and it’d be so gratifying to know if someone else was inspired!

Sources
If you’re interested in doing an even deeper dive, I did a fair amount of internet research and learned tips from these blog posts:
How to Give Your Toddler’s IKEA Kitchen (“Duktig”) a Working Sink by Justin Kaufman
Functional Montessori Kids Kitchen (With Working Sink) IKEA Hack! by Jessica Haizman
A Functional Montessori Toddler Kitchen from Montessori In Real Life
Functional toddler kitchen (IKEA duktig play kitchen hack) from The Organized Mom Life